
- Today
- Total
| 일 | 월 | 화 | 수 | 목 | 금 | 토 |
|---|---|---|---|---|---|---|
| 1 | 2 | 3 | 4 | 5 | ||
| 6 | 7 | 8 | 9 | 10 | 11 | 12 |
| 13 | 14 | 15 | 16 | 17 | 18 | 19 |
| 20 | 21 | 22 | 23 | 24 | 25 | 26 |
| 27 | 28 | 29 | 30 |
- sigmoid
- SWIFT
- decode
- deeplearning
- HTTP
- ios
- Python
- 오블완
- rxswift
- 시각화
- Request
- ReLU
- Optional
- scheduledTimer
- 연산자
- substr
- rest api
- 명령어
- struct
- SQL
- cocoapods
- r
- Linux
- swiftUI
- MVC
- 딥러닝
- tapply
- barplot
- Observable
- 티스토리챌린지
iOS 개발 기록 블로그
iOS(RxSwift) Install RxSwift using CocoaPods 본문
지난 글에 이어서 RxSwift를 Install 해본다.
iOS(Swift) Reactive Programming (RxSwift) 란?
iOS(Swift) Functional Programming(함수형 프로그램) 이란? Mastering RxSwift for iOS Reactive Programming for Developers Reactive Programming Using Swift Programming Language www.udemy.com 새로운 Udem..
crazydeer.tistory.com
CocoaPods ❓
CocoaPods.org
CocoaPods is built with Ruby and is installable with the default Ruby available on macOS. We recommend you use the default ruby. Using the default Ruby install can require you to use sudo when installing gems. Further installation instructions are in the g
cocoapods.org
dependency manager for Swift and Objective-C
iOS 앱 개발하는데 3rd part package(외부 라이브러리)나 Extension 들을 손쉽게 통합해주는 도구이다.
CocoaPods는 위 홈페이지에 설치 방법에 따라 알아서 설치해보자. 어렵지 않다.
Intall RxSwift
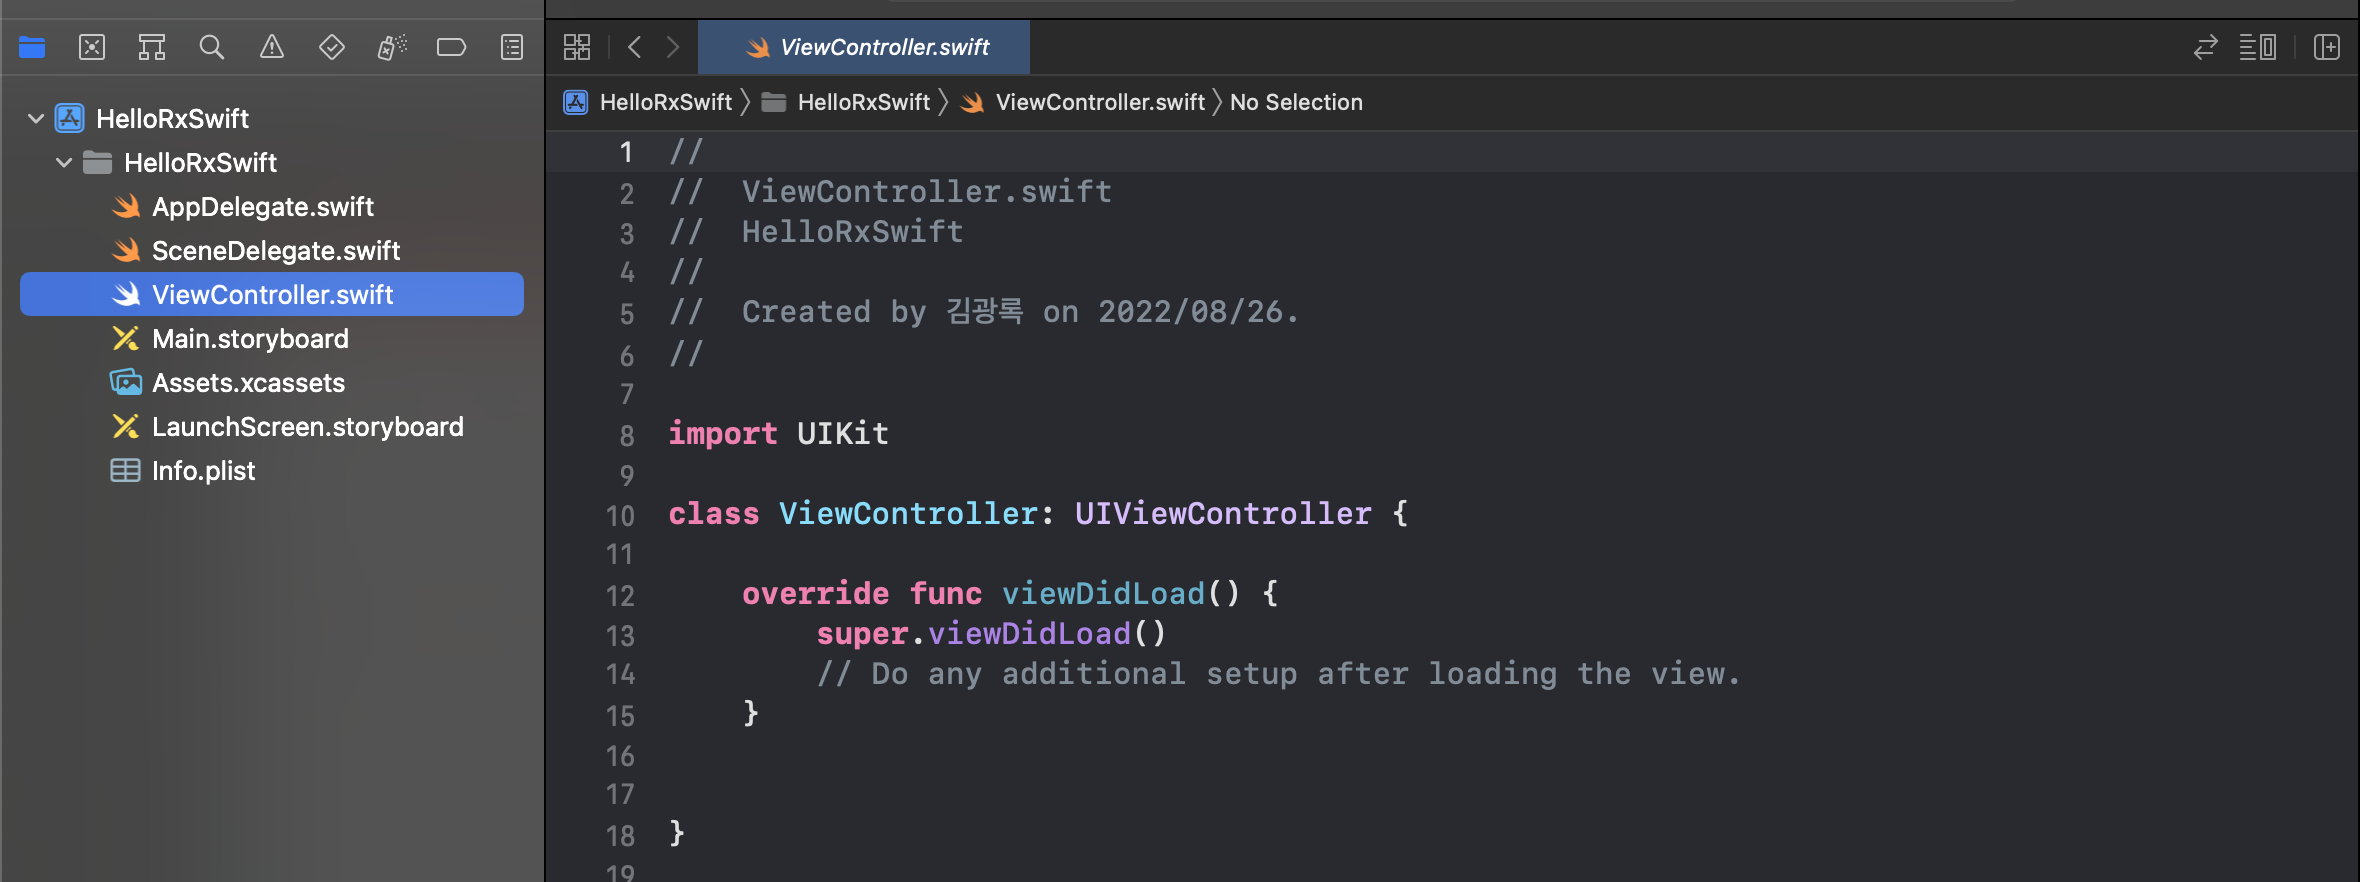
1️⃣ 빈 Xcode 프로젝트를 생성한다.
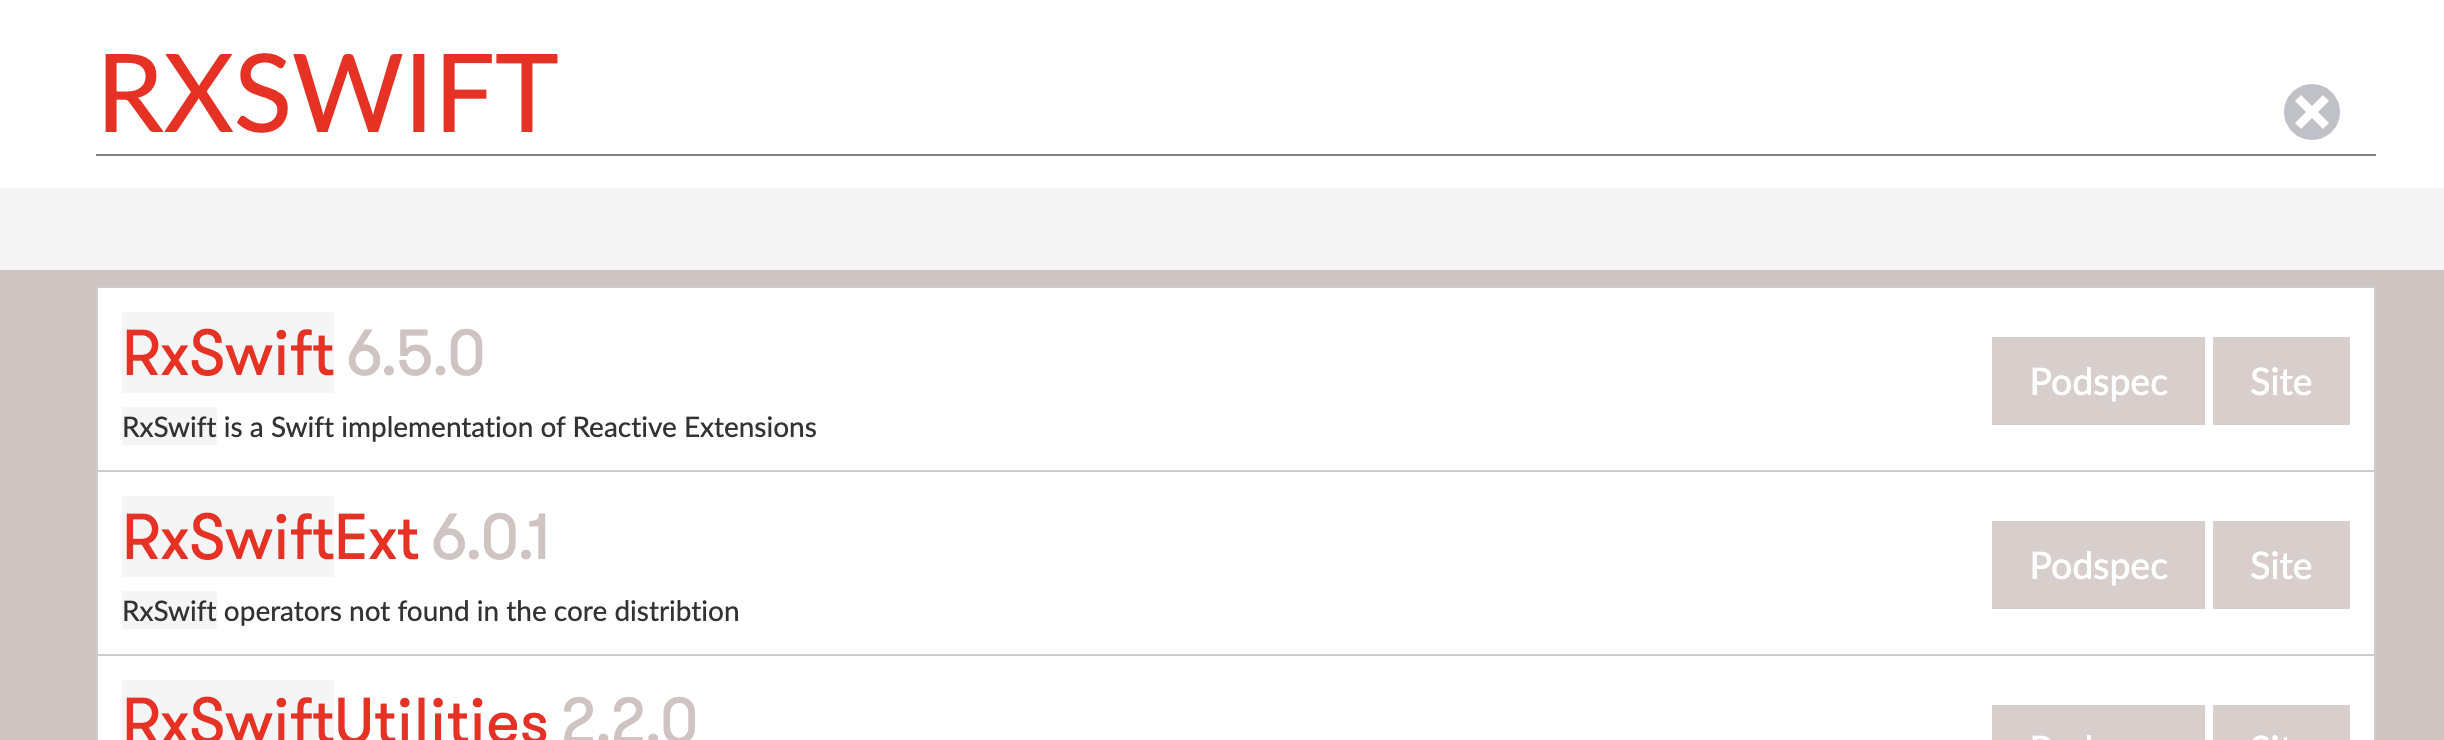
2️⃣ CocoaPods.org 에서 RxSwift 검색
3️⃣ Xcode 종료 → 터미널에서 pod init
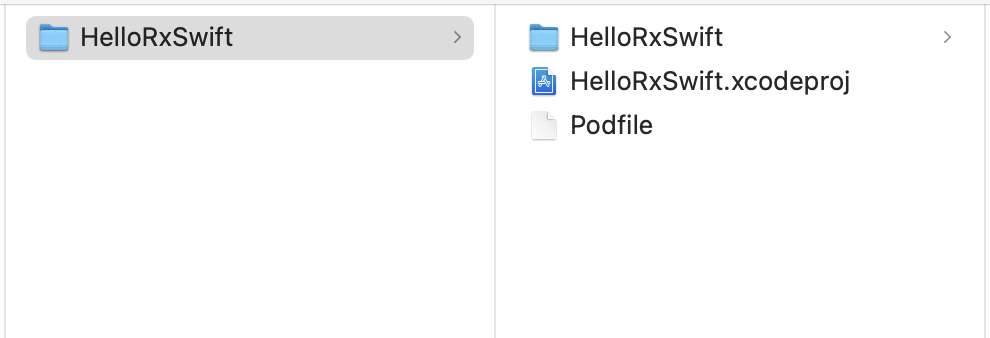
이때 HelloRxSwift.xcodeproj 파일이 있는 경로로 들어가줘야 한다
💡 HelloRxSwift HelloRxSwift.xcodeproj
ls 명령어를 쳤을때 위와 비슷하게 나와야 한다.
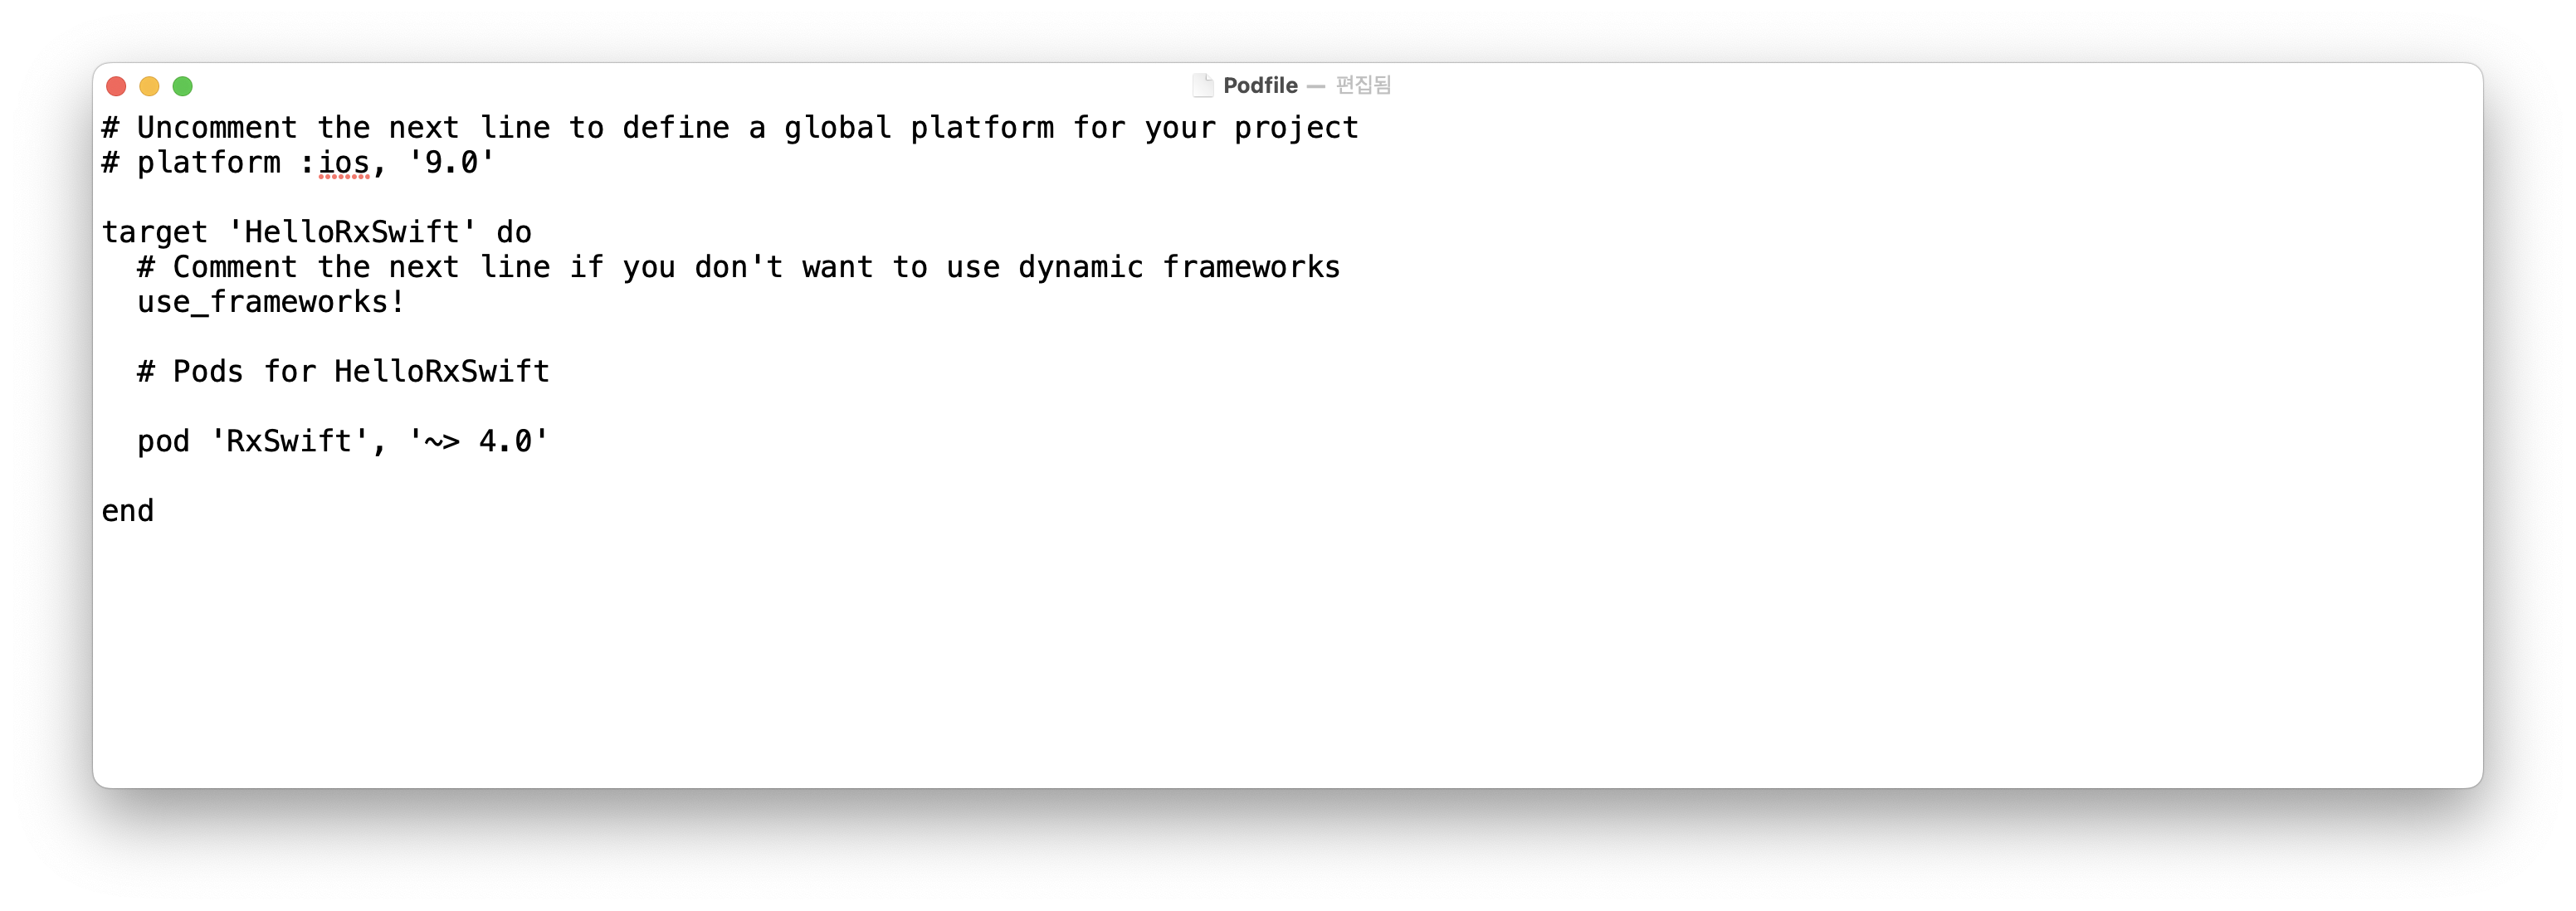
pod init 를 입력해주면 Podfile이 생긴다.
4️⃣ Podfile을 열고 파일을 아래와 같이 수정해준다.
5️⃣ 터미널로 돌아와서 pod install 입력
Analyzing dependencies
Downloading dependencies
Installing RxSwift (4.5.0)
Generating Pods project
Integrating client project

[!] Please close any current Xcode sessions and use `HelloRxSwift.xcworkspace` for this project from now on.
Pod installation complete! There is 1 dependency from the Podfile and 1 total pod installed.

[!] Automatically assigning platform `iOS` with version `13.0` on target `HelloRxSwift` because no platform was specified. Please specify a platform for this target in your Podfile. See `https://guides.cocoapods.org/syntax/podfile.html#platform`.
설치 성공
[ ! ] 은 천천히 읽어보면 다 이해된다. Podfile에서 iOS 버전을 따로 명시하지 않았기 때문에 프로젝트에서 설정한 13.0 으로 설치됐다는 말이다.
6️⃣ HelloRxSwift.xcworkspace 파일을 열어 프로젝트를 시작한다.

열고 그대로 command + b 로 빌드해보면 정상적으로 빌드가 잘 된다.
이제 설치는 완료되었다.
'iOS > RxSwift' 카테고리의 다른 글
| iOS(RxSwift) Subject 종류와 예시 코드 (0) | 2022.08.31 |
|---|---|
| iOS(RxSwift) Subscribe with example (0) | 2022.08.30 |
| iOS(RxSwift) Observable 개념과 예시 (0) | 2022.08.29 |
| iOS(Swift) Reactive Programming (RxSwift) 란? (0) | 2022.08.27 |
| iOS(Swift) Functional Programming(함수형 프로그램) 이란? (0) | 2022.08.26 |


